explore Computer-Aided Design (CAD)
as you create a virtual rocket


zero to rockets in 4 hours

Intro Placeholder Get started

Getting started


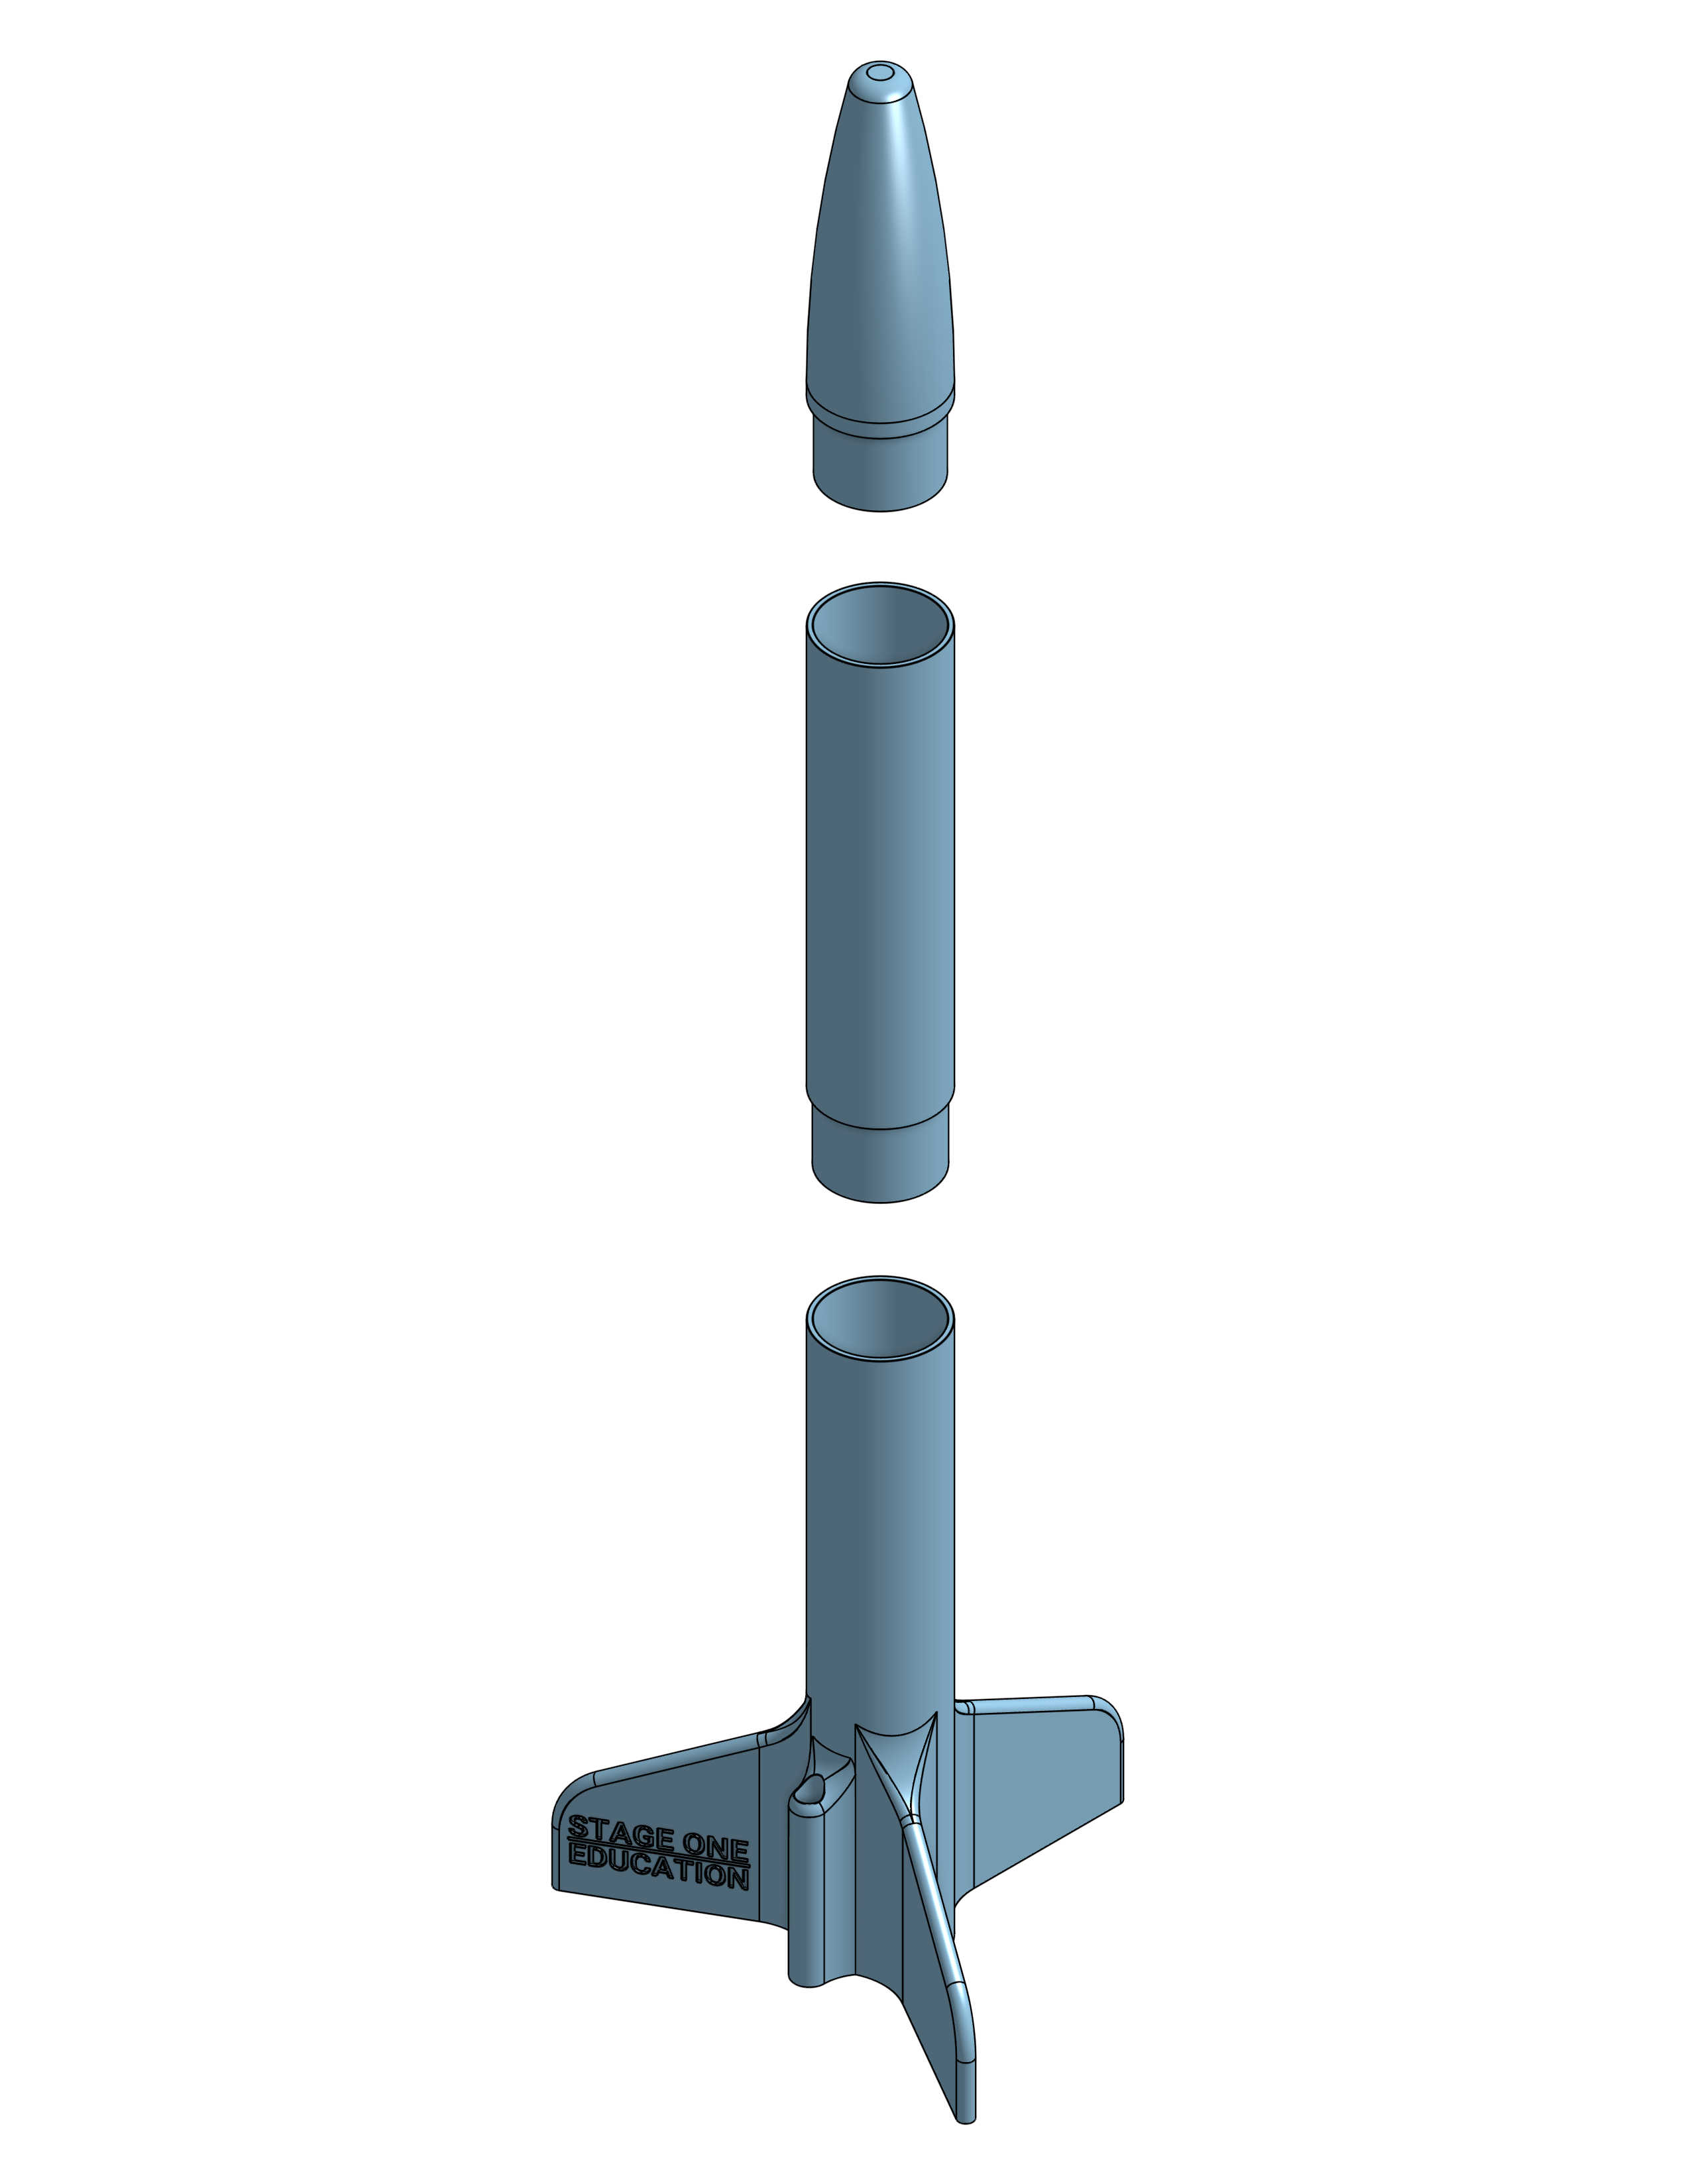
A complete introduction to Onshape CAD by designing a fully-functional model rocket.


We recommend a split-screen layout:

1. Set up windows in split view

  • Use Windows key + Left Arrow to move one browser to the left
  • Use Windows key + Right Arrow to move the other browser to the right
  • Consider making the tutorial thinner than the CAD window so more of the controls are fully visible in the view.

2. Create a Hobbyist onshape account

  • Head to the create free account page at Onshape

  • Input your:
    • First Name
    • Last Name
    • Email Address
    • Press Next

  • On page 2: What do you want to use Onshape for
    • Select Fun
    • Press Next

  • On page 3: What best describes you?
    • Select Hobbyist
    • Press Next

  • On page 4: Confirm your Plan
    • Press Next

  • On page 5: Add your details
    • Phone number: Your mobile phone number
    • What CAD system are you most familiar with: Onshape
    • Where are you in your CAD evaluation process: Browsing / General Interest
    • Press Next

  • On page 6: Complete your signup
    • Do you use CAD at work: No
    • How did you hear about us: Stage One Education
    • Check acknowledgements
    • Press Complete Sign Up

  • Open your email and click the link we sent to activate your account
    • Press Activate Your Account
    • create a password

3. Sign-in to Onshape

||

4. Accept default units

  • The default options are correct:
    • Length: Inches
    • Angle units: Degrees
    • Mass units: Pound
  • Press Next
  • Accept the default mouse controls
    • Onshape (default)
    • Press Next
  • Accept the default nickname
    • Press Next
  • Select Done after the browser check

5. Create a new document

||
  • Click the Create button
  • Select Document
  • Name your document Rocket by [yourname]
  • Select Create public document

6. Moving your view in 3D

||
  • Turn your view: right-click + drag
  • Pan/slide: Middle-button + drag to pan/slide your view
    • If you don't have a middle button, you can use Ctrl + right click + drag to pan/slide your view
  • Zoom: scroll wheel

7. Set up windows in split view

  • Use Windows key + Left Arrow to move one browser to the left
  • Use Windows key + Right Arrow to move the other browser to the right
  • Consider making the tutorial thinner than the CAD window so more of the controls are fully visible in the view.
© 2025 Stage One Education, LLC