Assembly


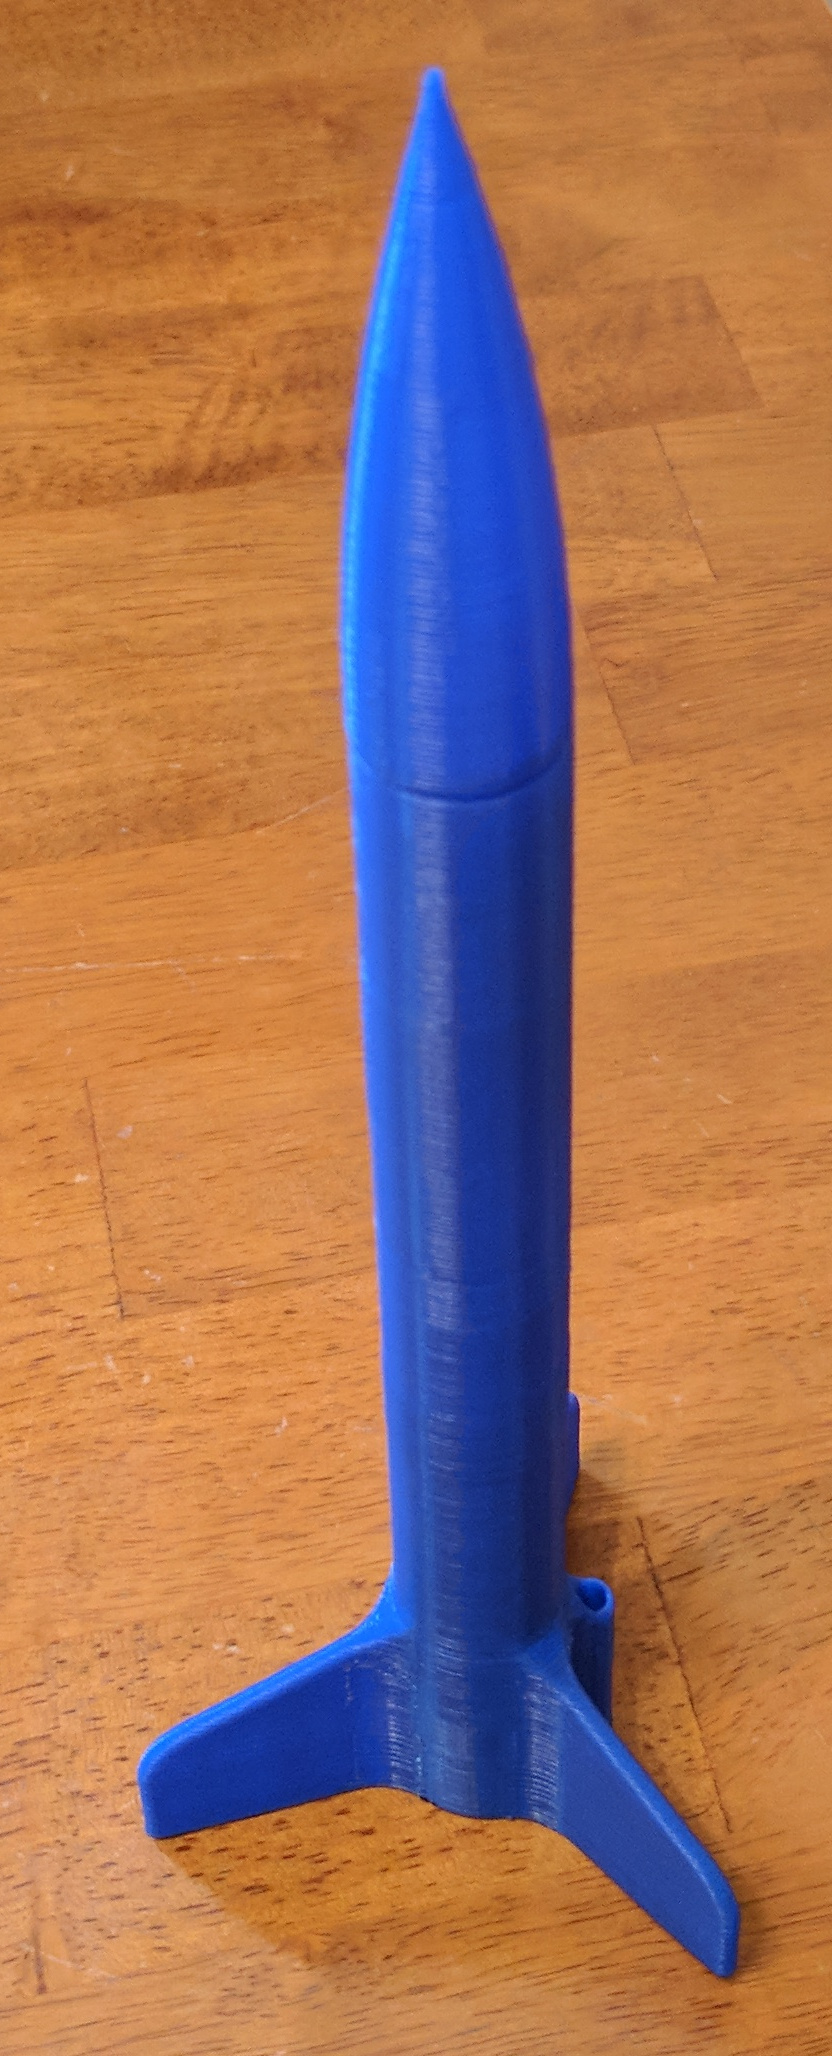
in which we put it all together

1. Select the assembly button tab

  • Click the "Assembly 1" tab on the bottom row

2. Insert parts

  • Select the "Insert" tool
  • Select the "Middle body"
  • Click inside the assembly to place the part
  • Repeat for the "Lower body" and "Nosecone"
  • Click the green check

3. Mate the fuselage to the booster and fins

  • Select the "Fastened Mate" tool
  • Hover over the top of the booster and fins, then click when a disc appears
  • Hover over the inside of the fuselage, where the part gets wider
  • Click again, and you'll see the parts snap together
  • Click the green check

4. Mate the fuselage to the nosecone

  • Select the "Fastened Mate" tool
  • Hover over the top of the fuselage then click when a disc appears
  • Hover over the inside of the nosecone, where the part gets wider
  • Click again, and you'll see the parts snap together
  • Click the green check

5. Export the booster and fins for 3D printing

  • Right click on the booster and fins
  • Select "Export..."
  • Select STL from the "Format" list
  • Set Units to Millimeter
  • Click OK

6. Export the fuselage for 3D printing

  • Right click on the fuselage
  • Select "Export..."
  • Select STL from the "Format" list
  • Set Units to Millimeter
  • Click OK

7. Export the nosecone for 3D printing

  • Right click on the nosecone
  • Select "Export..."
  • Select STL from the "Format" list
  • Set Units to Millimeter
  • Click OK

8. 3D print the files and gather parts

9. Start assembling the rocket

  • Thread a flame-resistant string or shock cord through the tube inside the fuselage

10. Tie the string off on the bottom end with two knots to keep it from coming out

11. Tie the other end around the bar in the nosecone

  • You can use tweezers or a paperclip to get at the string when it's inside the nosecone.

12. Push the fuselage into the lower body. It should be a very tight fit to keep it from coming loose in flight.

  • Depending on your printer, you might have to sand a little bit off or put a piece of tape on the side to get the perfect fit.

13. Tie a streamer or parachute to the string

14. Roll the streamer and push it into the fuselage

15. Slip the nosecone on. It should be a loose fit so that the ejection charge will pop it off.

  • Depending on your printer, you might have to sand a little bit off or put a piece of tape on the side to get the perfect fit.

16. Load an engine (A, B, or C-class)

17. Go flying!

18. Challenges

Can you edit or rocket to make it better? Some ideas:

  • Add little fins to the fuselage, similar to the New Glenn design?
  • Edit your nosecone to make it pointy instead of flat

Extra Difficult:

  • Convert your rocket to a triple-engine booster
  • Add an entire new stage to make a multi-stage rocket